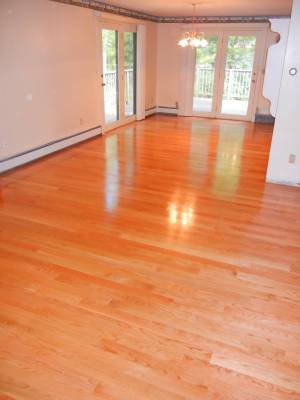
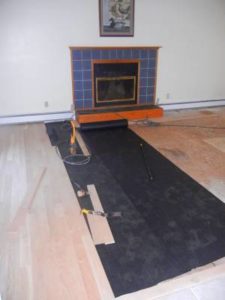
The durability of your hardwood floors is not just in the quality of the wood used; it’s in the installation as well. You could purchase the best wood in the world, it won’t mean anything if it’s not installed correctly. The last thing you want to see in your new floor is moving, cracking, and lifting! When your new floors are installed, there are a few basic steps that need to be taken to ensure quality and durability…
Step One: Remove the old flooring:
Old flooring is, often times, NOT something you can just lay the new floor over and pretend it’s not there. Think about it, the base of anything literally lays the foundation for any project. You wouldn’t start a row of paver stones when you know the ground is not smooth, right? Your wall will eventually just topple over. The same way with flooring; if your old flooring or subfloor (most of the time plywood) isn’t smooth, your new floor won’t be either.
Because of this, we rip up the old flooring and either sand down the subfloor to make it smooth, or replace it all together.
Step Two: Installing your new hardwood:
Whether you’ve chosen unfinished or prefinished hardwood flooring, both have to be installed the same way. When installing solid strip flooring, or flooring that is smaller in width, like 2 ¼, 3 ¼, and such, you most likely won’t have to face nail the boards to the subfloor. Face nailing means you literally put a nail straight down in the top face of the flooring. Most of the time this is not the popular choice with strip flooring and clients would rather have the faces of the boards be clean. If that’s the case, then a cleat or staple must be put in at an angle on the lip of the board and in to the subfloor beneath.
Solid ¾ inch flooring is usually nailed in with 16-gauge flooring cleats or 15-gauge flooring staples. A cleat is a nail with a longer flat head, and a flooring staple looks just like a paper staple, only the legs are much bigger and longer. Both of these products have generally the same holding power over time, however staples have a tendency to crack the lip of the board which hooks in to the following board. When this happens it invalidates the security of the boards and neither staples nor nails will allow for full security anymore. Of course, it’s always the preference of the installer with which product they use.
Larger plank flooring is usually installed with both blind nailing (as explained above) and face nailing methods. Many time face nailing is popular when the homeowners are trying to recreate the look of and old captain’s house or stay true to colonial times. Face nailing also adds needed support to a wider board with subsequently fewer fasteners per sq. ft. If the look of face nails isn’t really your thing but you love the wide plank boards you maybe also screw the boards in and plug them. Installers will actually carve out a small round hole in the flooring, put a screw in the hold to secure it to the subfloor, and then create an equal sized plug to fill in the hold over the screw to make the plank look solid.
Step Three: Finishing:
After your new flooring is installed and looks great, you may need to finish it somehow. If you have just installed prefinished flooring, then you’re done! Looks great, doesn’t it?!
If you have unfinished flooring installed, then that’s a little different. Many people think that finishing means changing the color of the wood by adding stains and paints. This is not true! Finishing simply means you sand the floor to make sure all the newly installed boards are perfectly smooth, and you add polyurethane. Polyurethane and covering and sealing coats protect your wood from everyday use. Wood of any kind is porous, meaning it will absorb liquids and gases which cause stains and smells. By adding the polyurethane and sealing coats to your floor, with or without stain, it will protect your hardwood floors for years to come.
And there you have it! Keep your new floors strong and durable and gorgeous for years to come by following these steps and calling New Floors Inc!


